1. Read the instructions!
 Most everything you really need to know is in the installation instructions, including plenty of tips that I won’t repeat here. Pay particular attention to information highlighted in bubbles. For example: If you are pivoting the bracket for stairs, disengage the locking pin on the stainless steel head and re-tighten the locking screw BEFORE you insert the bracket in the railing. Or, to avoid splitting wooden studs, drill pilot holes and angle the holes for the top two bracket screws slightly inward. Okay, I know, I said I wouldn’t repeat them.
Instructions for installing handrails, adjusting universal joints, and preparing vinyl extrusion are shipped with the kits but if you need more copies you can download them from our resources page. You will also find additional helpful information there, like a guide to measuring stairs for handrails and a diagram that shows how to calculate railing lengths. Oh, and if there’s something missing or misleading in the tools and guides, don’t hesitate to let us know.
2. Start at the right-hand side
 If you are installing a straight handrail, attach the right-hand bracket to the railing and to the wall first. Why? Because the bracket locks in place with a clockwise twist. That means that if you are not happy with the position of the right-hand bracket on the railing, you can adjust it without unscrewing the bracket from the wall. Simply raise the railing to a horizontal position and pivot it away from the wall (counterclockwise) to unlock the bracket. Slide the railing left or right a bit as desired, and pivot it back towards the wall to lock the bracket in the new position. Ah, that’s perfect!
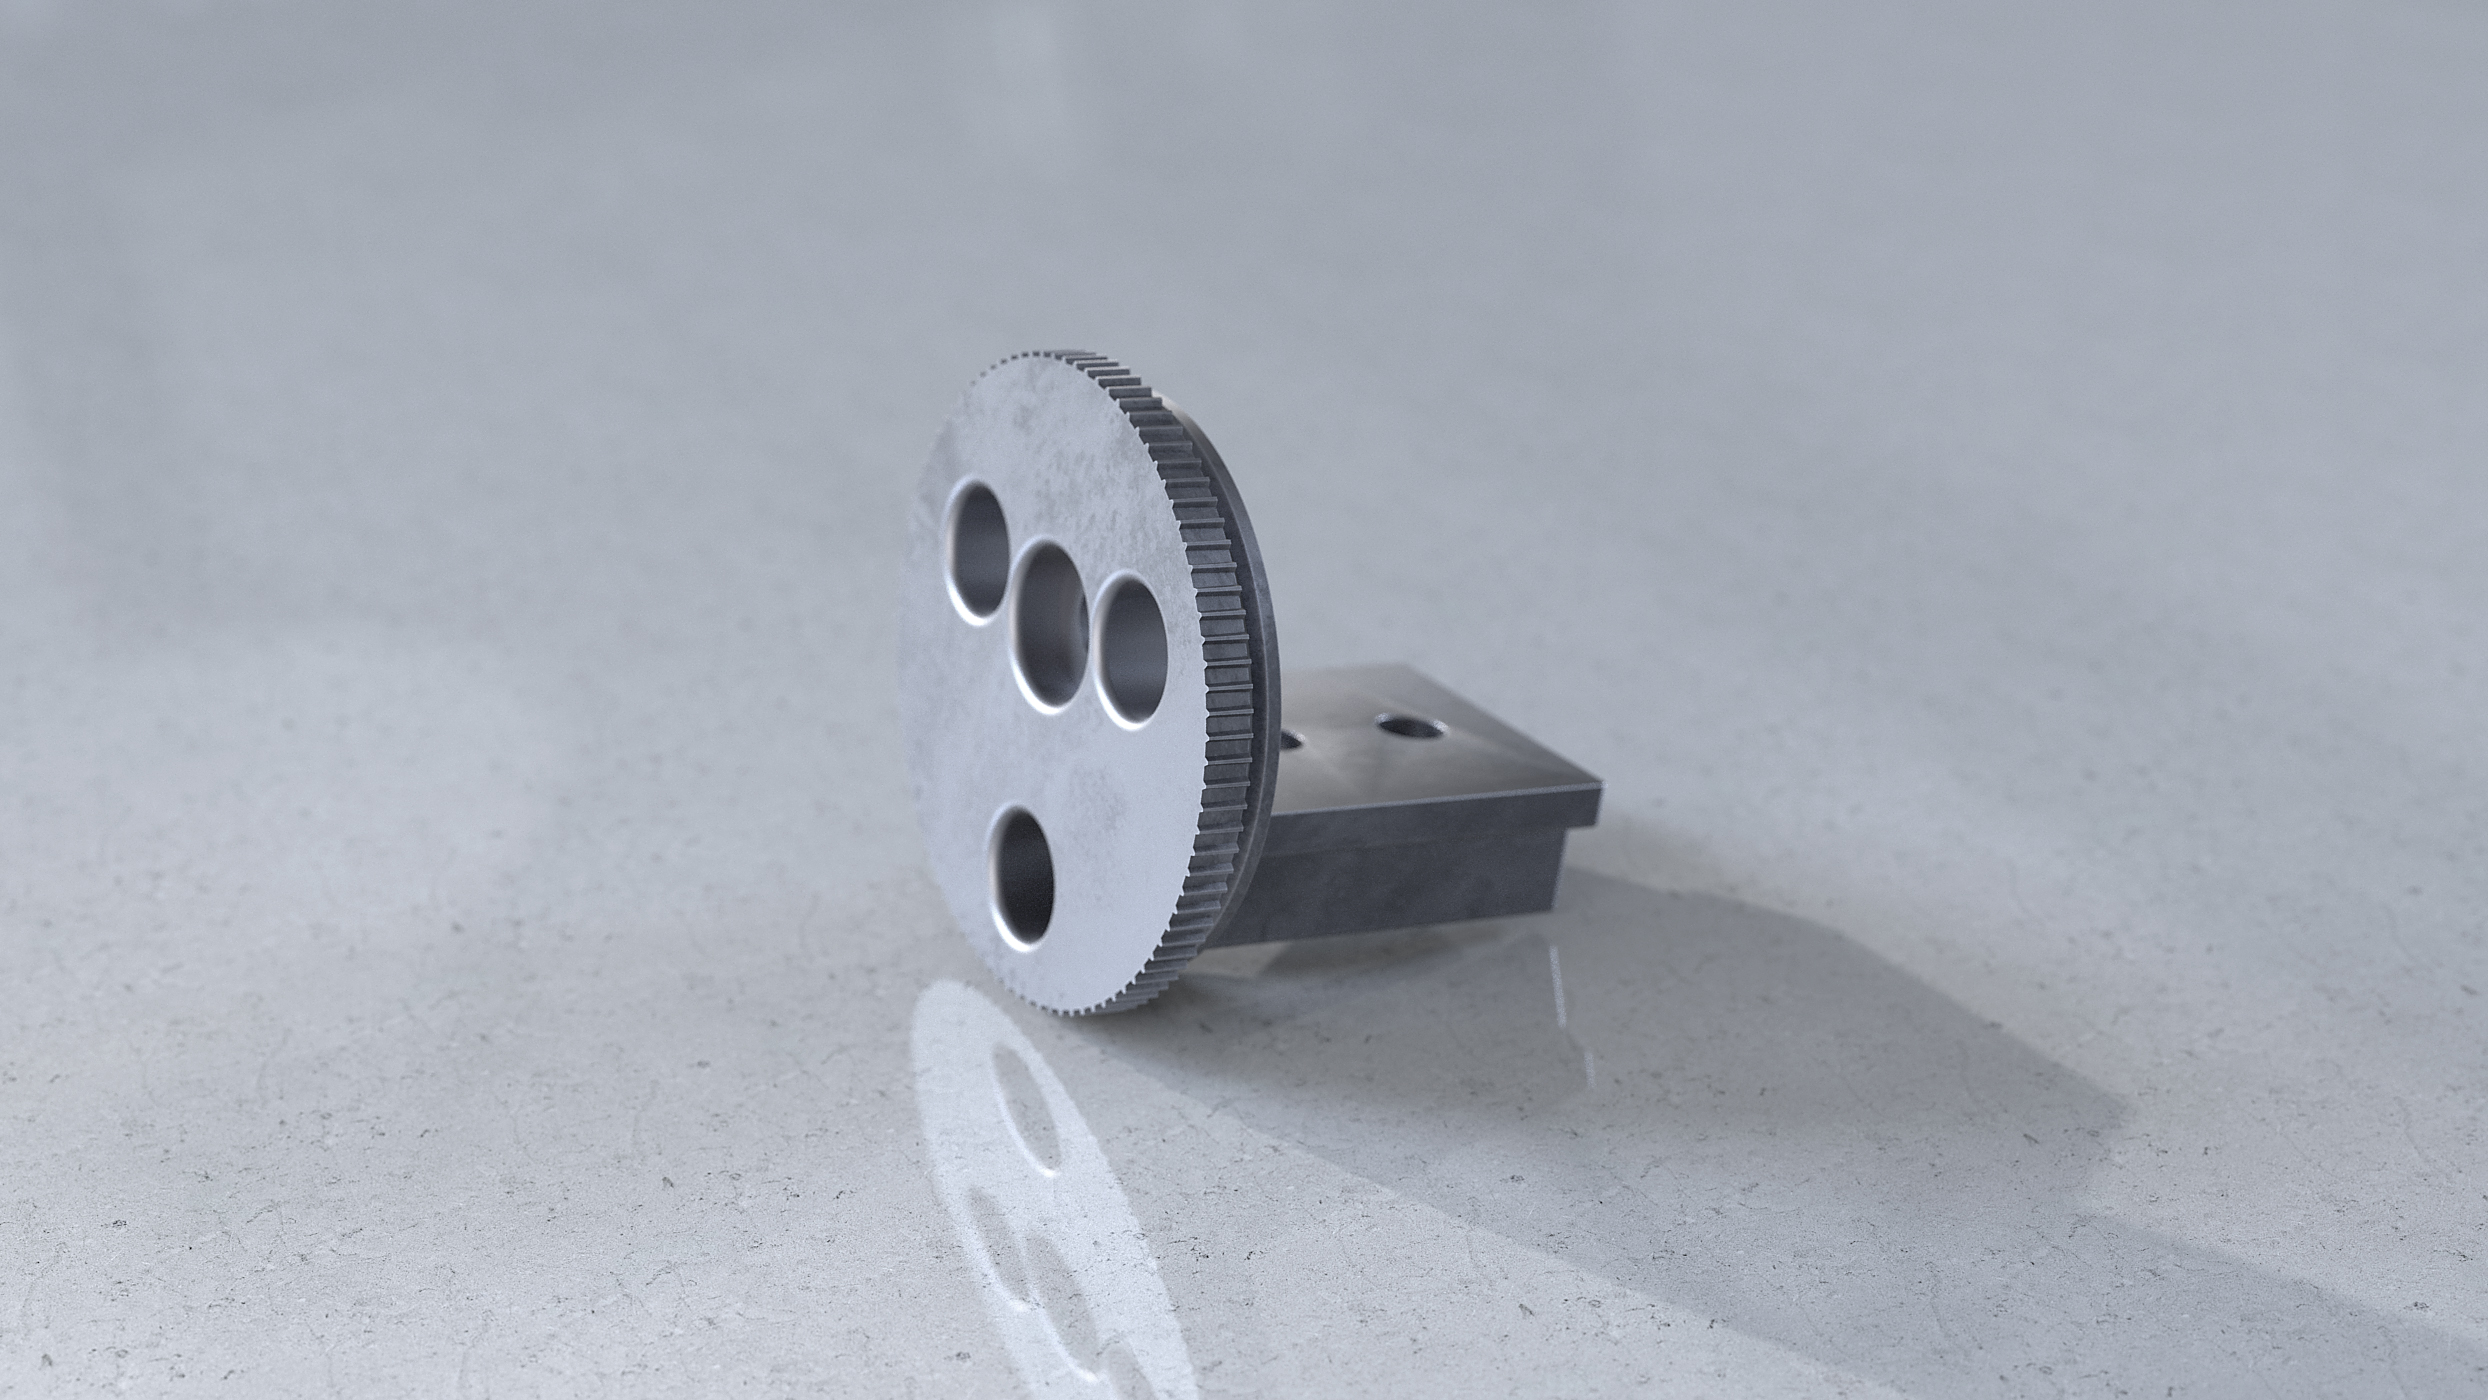
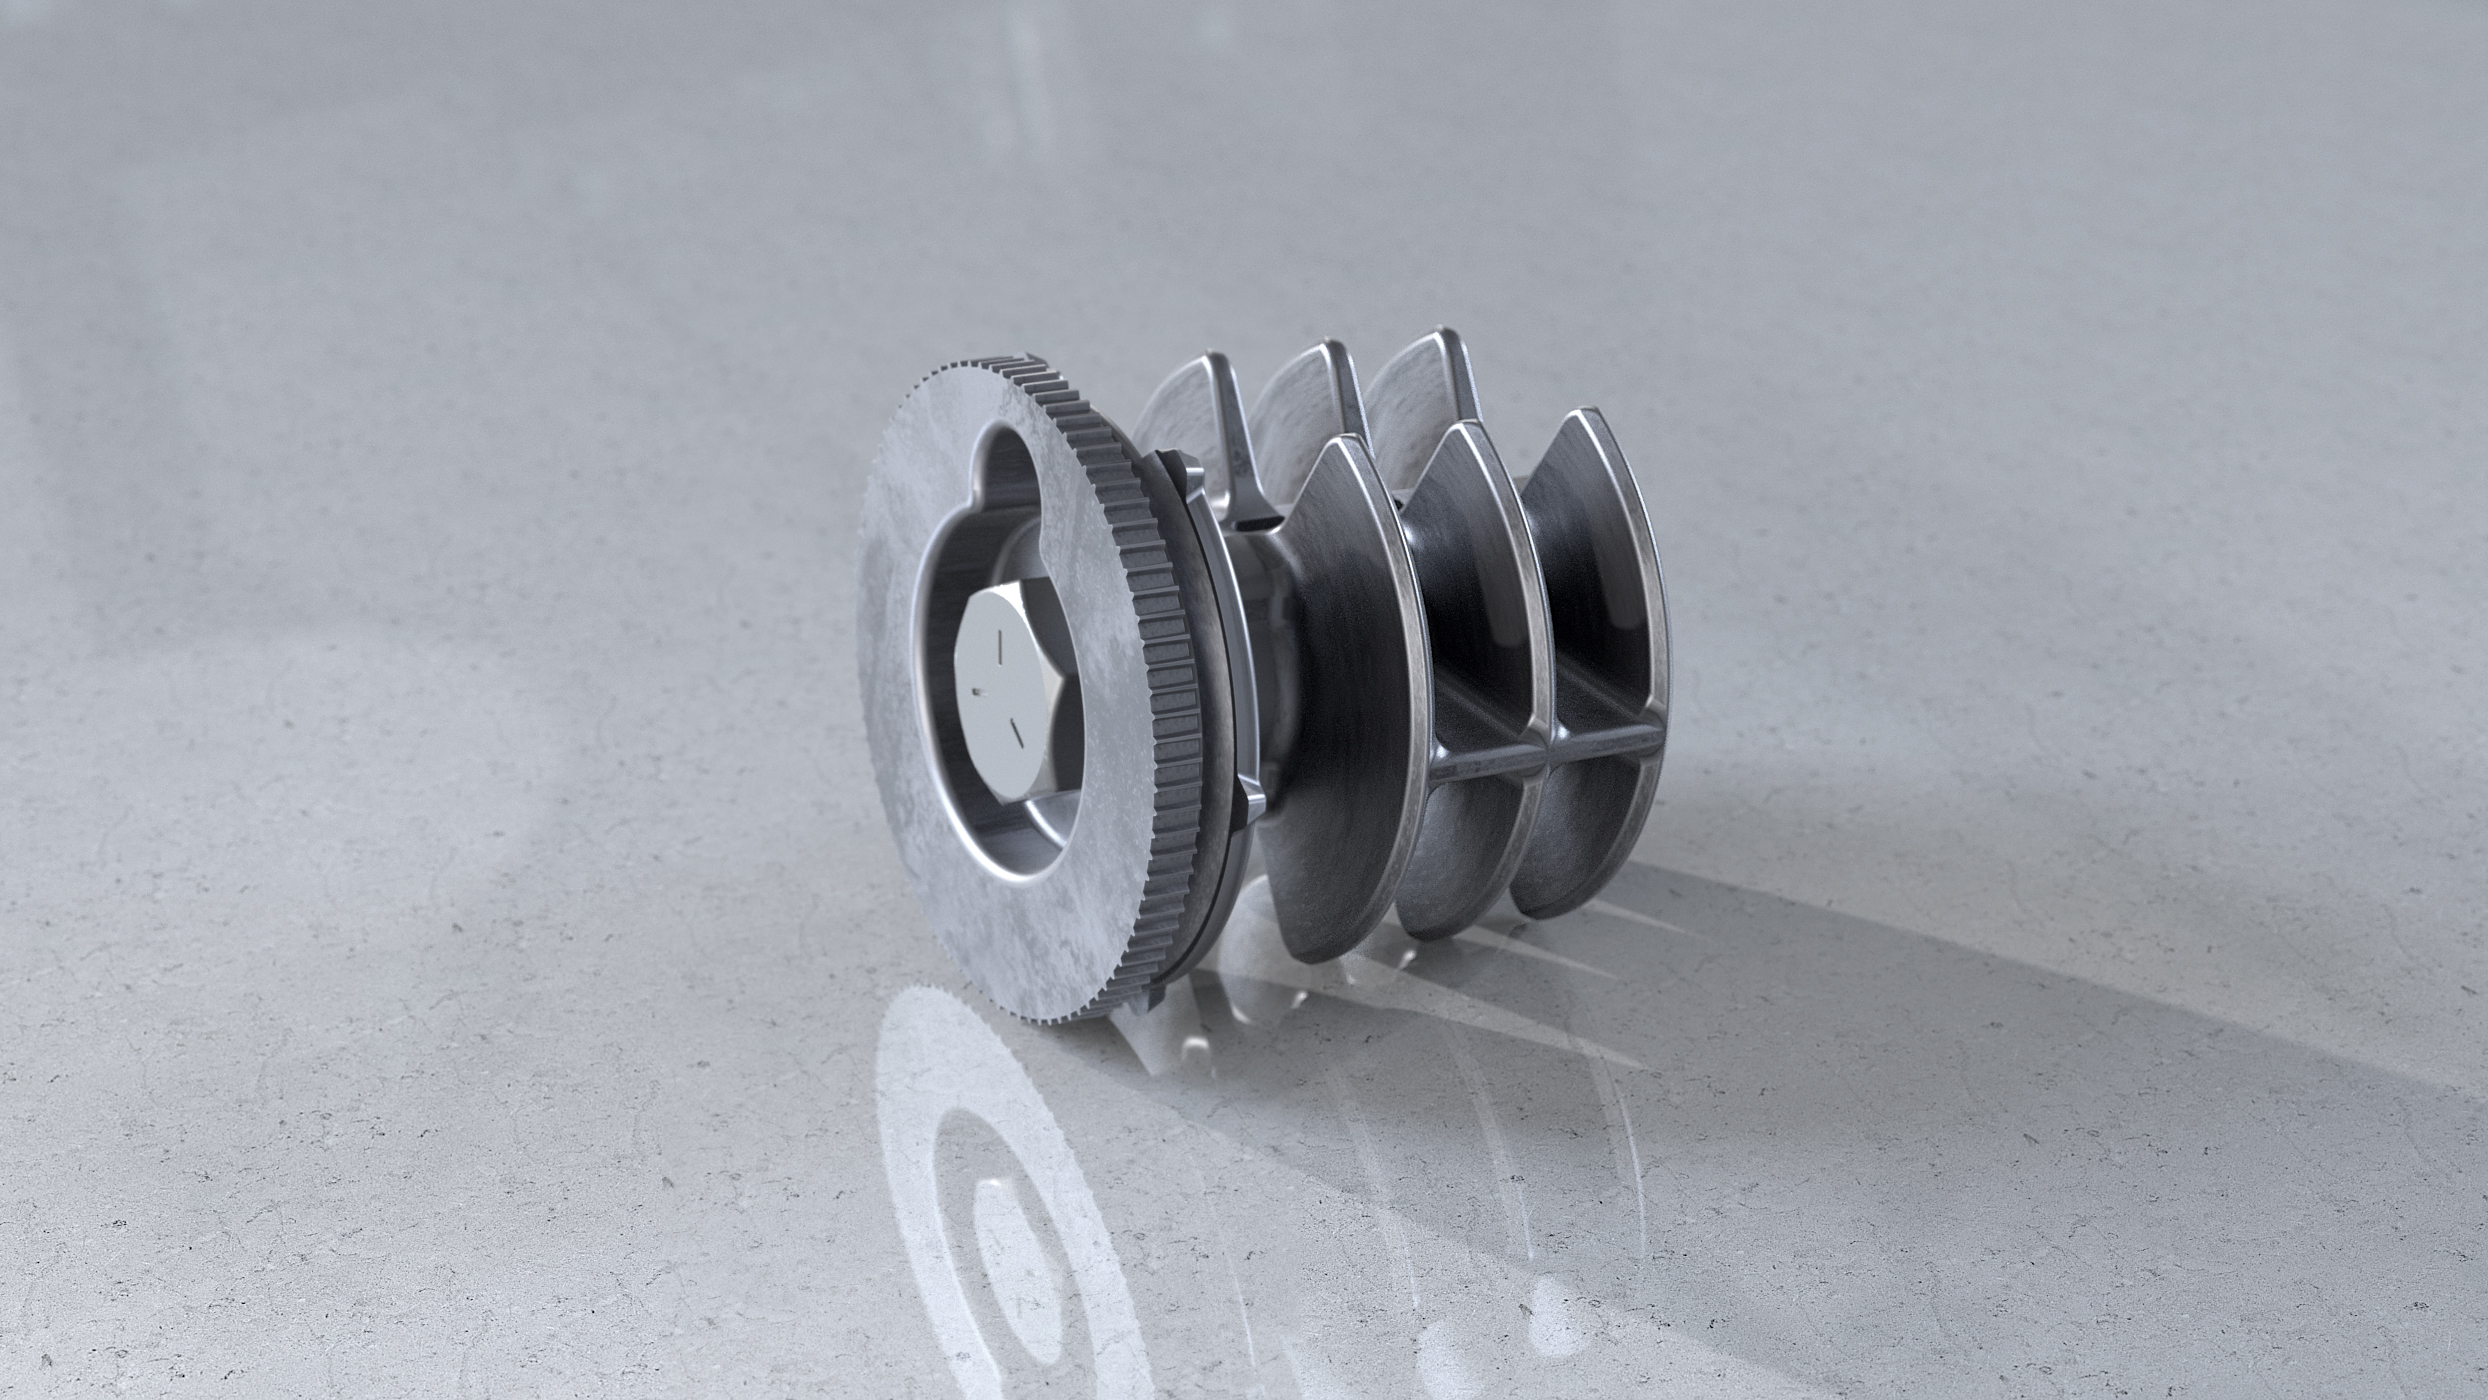
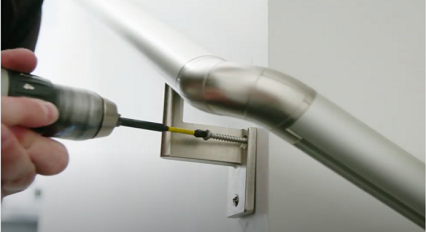
3. Use a quick-change drill bit
 Installing PromenAid handrail is mostly a matter of drilling pilot holes in the studs and screwing the brackets to the walls. Because you are alternating these two actions, it goes a lot faster if you use two cordless electric drills. But if you only have one drill, a quick-change drive and bit setup could be even more convenient. You will need: a) a bit holder, either magnetic or spring-loaded, for your drill chuck, b) hex-drive bits for pilot holes – 5/32-inch works well on softwood but you may need to adjust for other materials – and c) a #3 Phillips bit with a minimum 3-inch-long shank (for PromenAid screws).
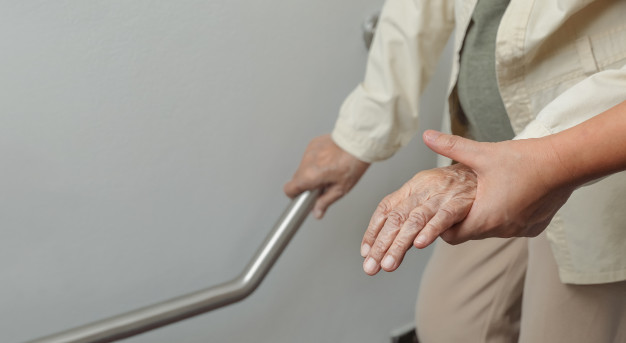
4. Protect the walls
 One of the big advantages of PromenAid handrail is that there’s no painting or finishing required. Don’t blow it by damaging the painted wall when you install the brackets. A little masking tape can go a long way towards avoiding scratches and scuff marks. Here’s another idea: after you have drilled your first pilot hole, place a sheet of paper between the bracket and the wall and install your first screw through the sheet. Now you can rotate and adjust the bracket without fear of marring the wall. When all three screws are in, but not yet fully tightened, tear the paper away.
On longer handrails, once you have the left and right brackets in place, you will be adding intermediate brackets. To avoid scratching the wall when twisting these into place, pull out gently on the railing to increase the clearance…and use the paper trick.
5. Order a few extra inches
 Straight handrails can be ordered pre-cut to the precise length required. If your railing is going around corners or changing slopes, however, it’s tricky to measure exactly what you need in advance. Not to worry…just order a few extra inches. PromenAid handrail can be easily trimmed to length with a standard miter saw. A non-ferrous metal blade is ideal, but any blade with 40 carbide teeth or more will work well if you take it slow. If your carbide blade has fewer than 40 teeth, just take it slower. And always use eye protection!
This blog post is NOT brought to you by Amazon.
Did you find these tips helpful?
Do you have any tips or tricks or your own to share?
Please leave a comment below…we’d love to hear from you!