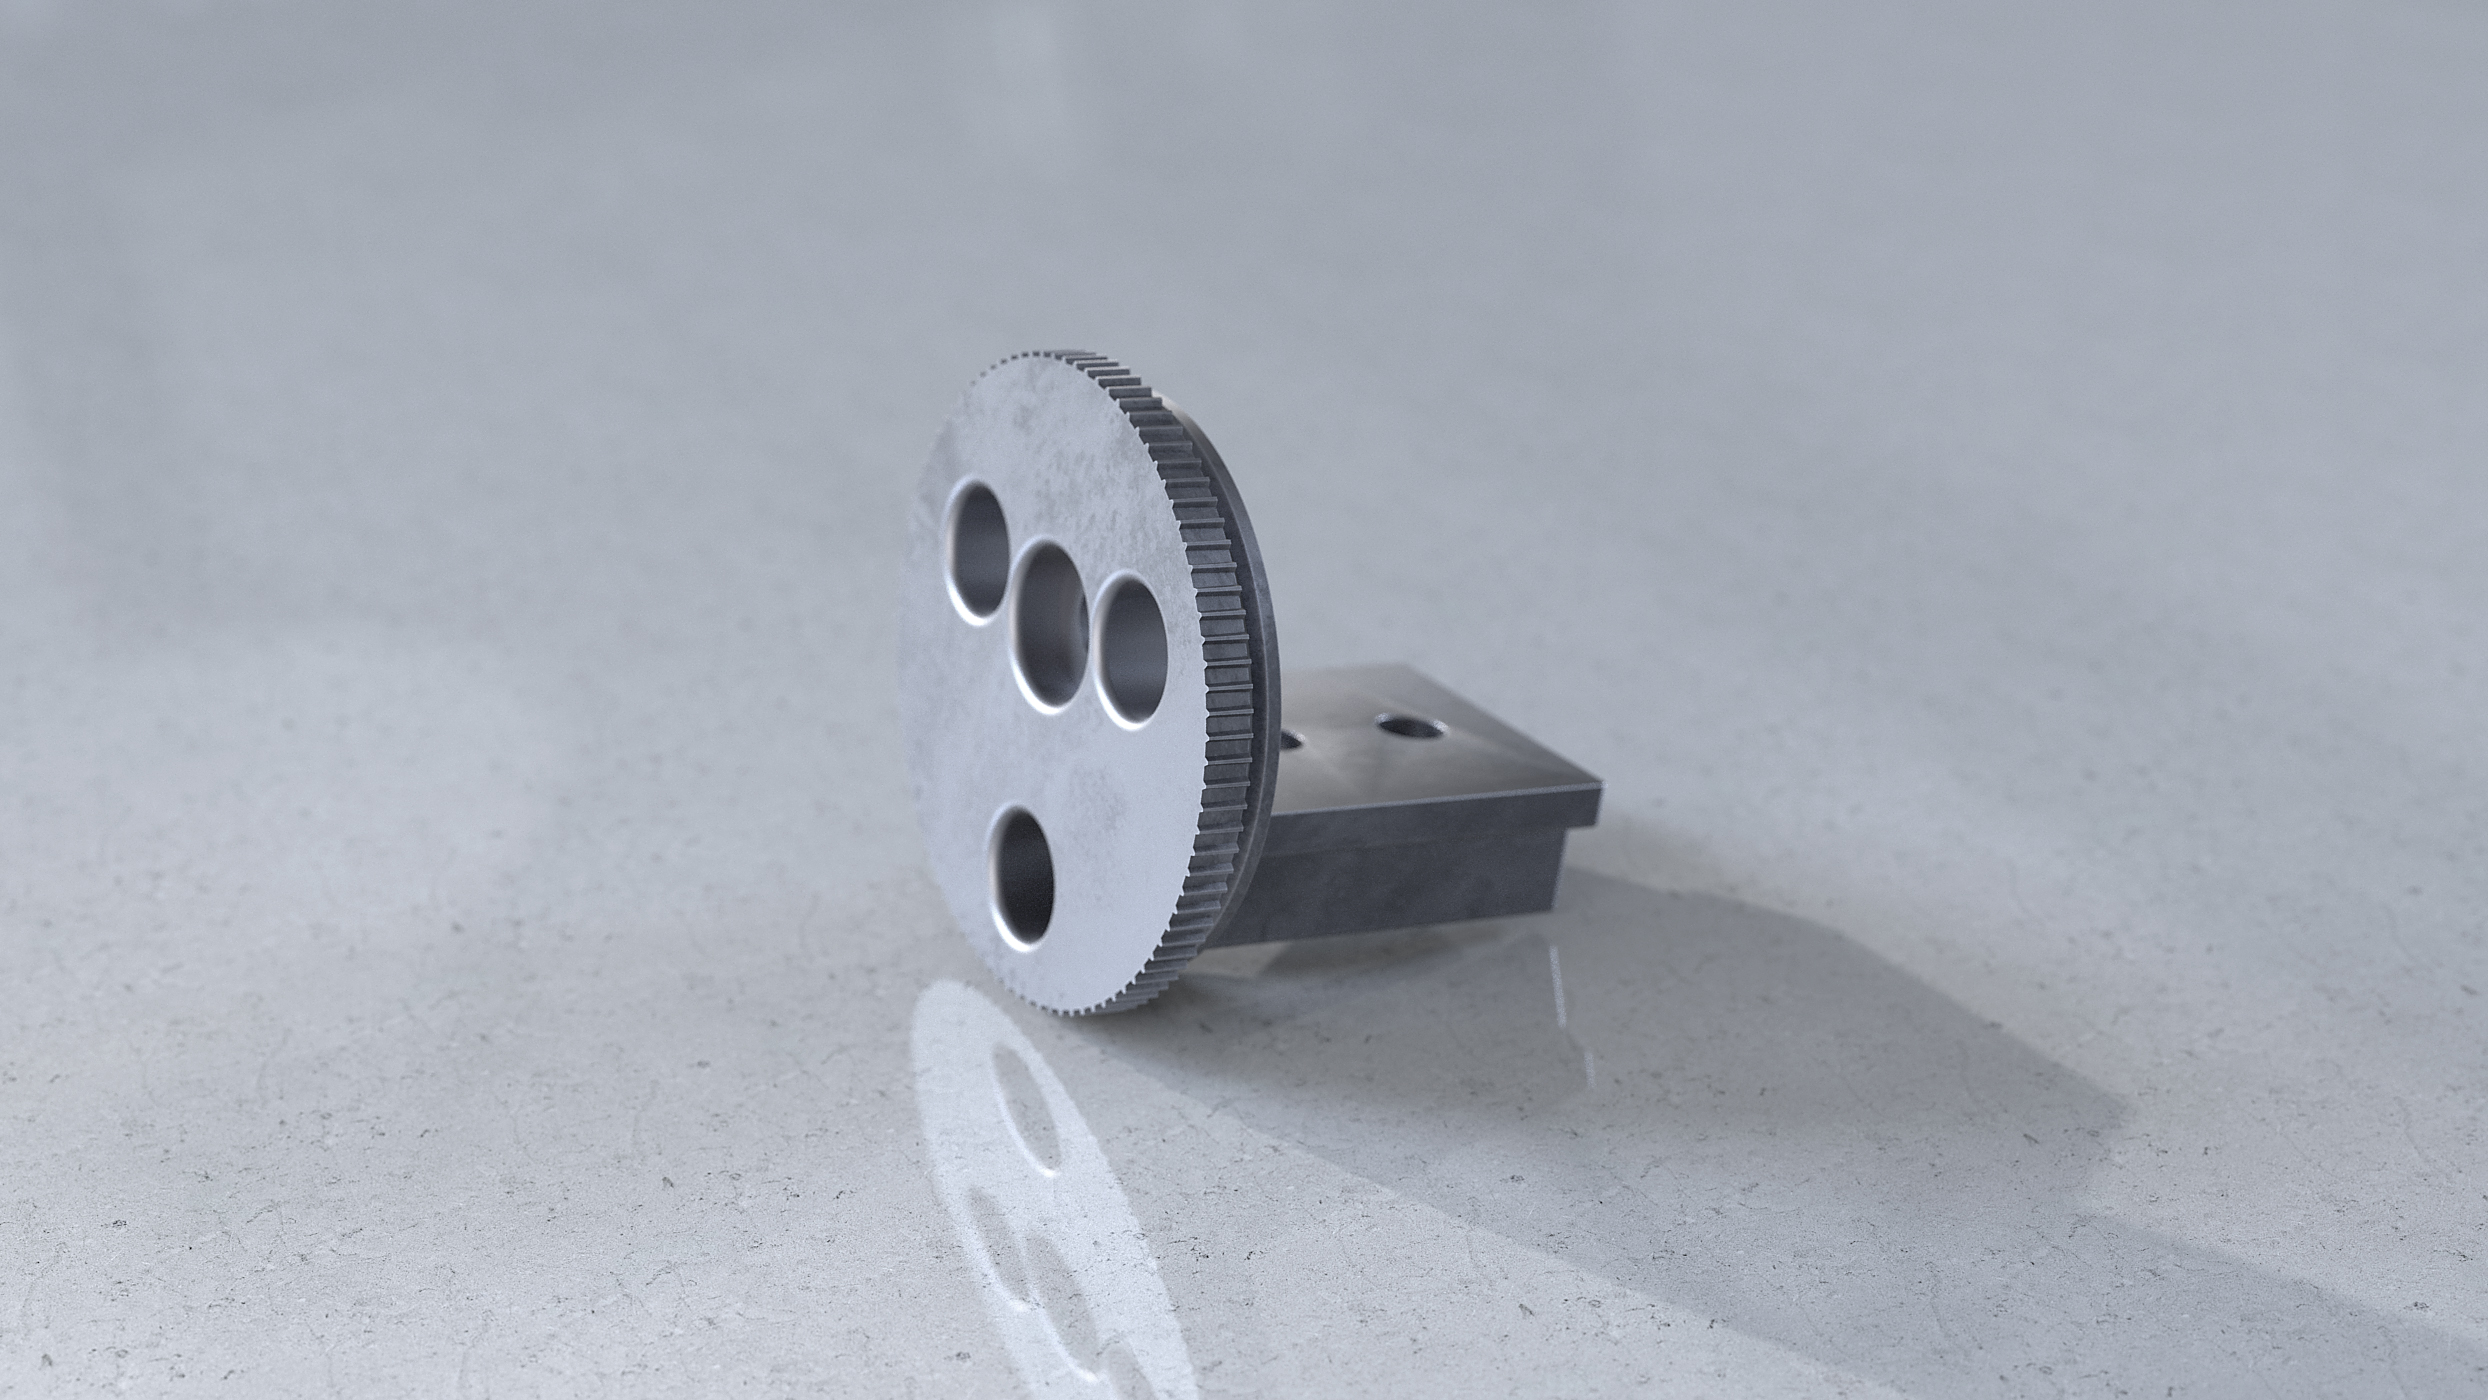
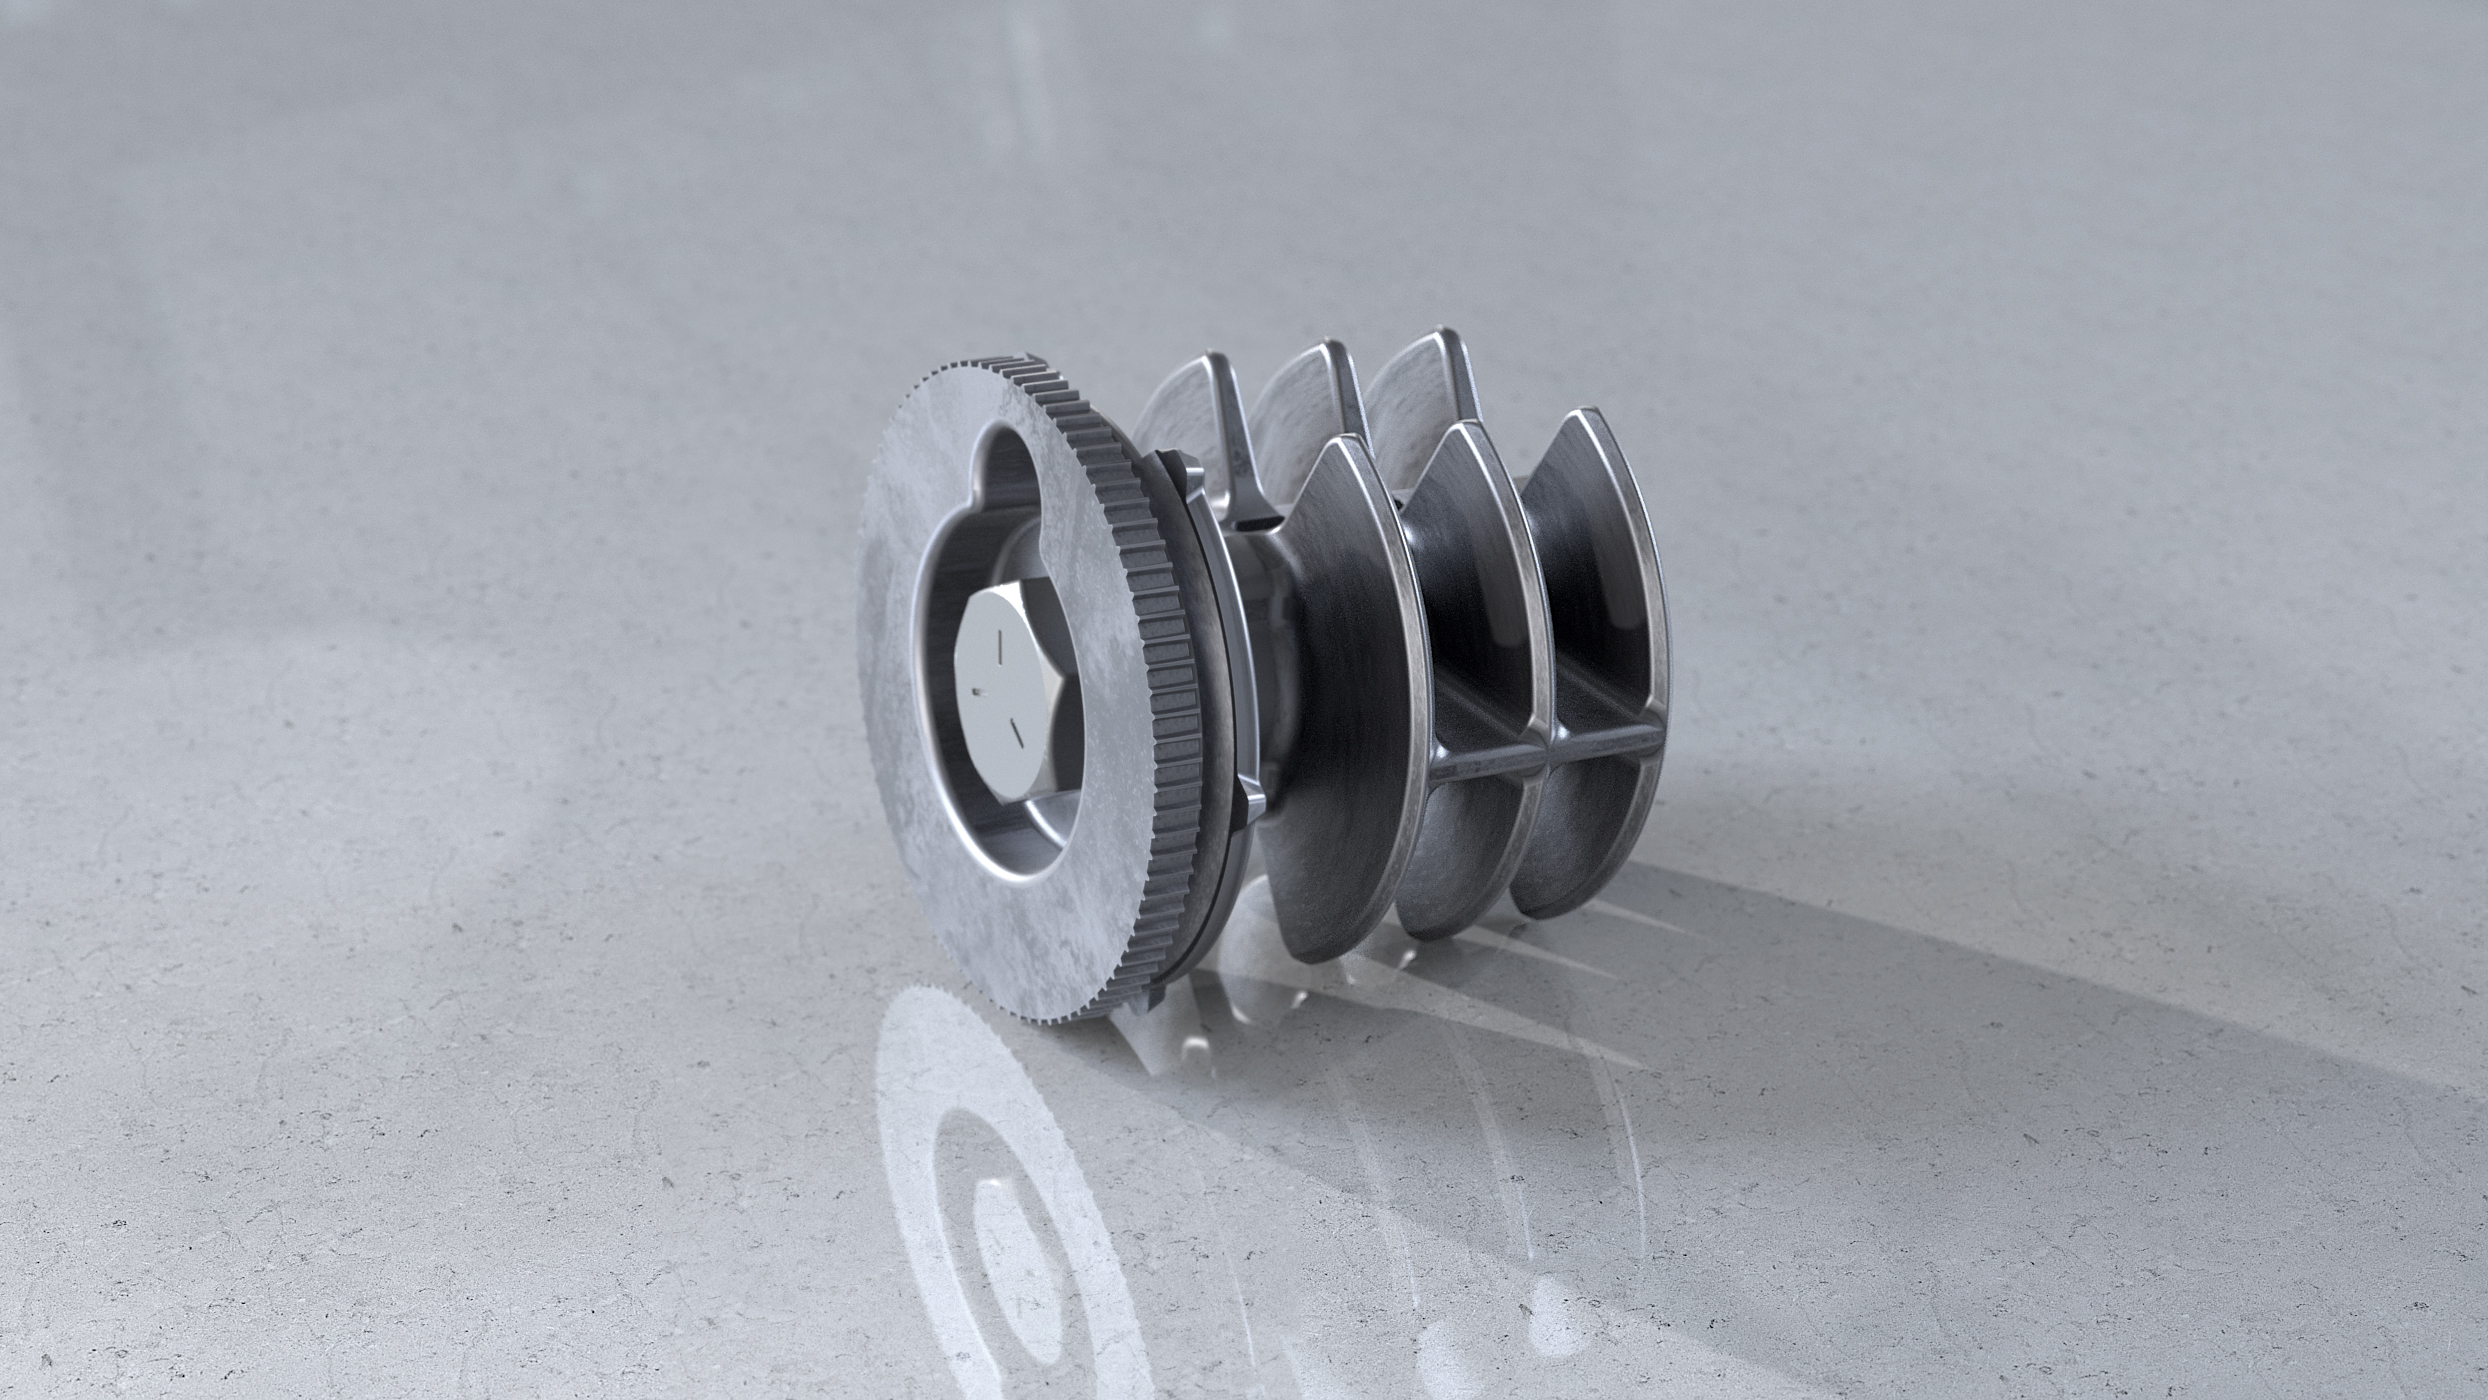
- Make sure that the bracket is perpendicular to the handrail and is fully inserted into the handrail channel
- Twist the bracket clockwise. You should feel no resistance at first
- When the bracket approaches 90 degrees rotation, you will feel a gradually increasing resistance
- The bracket should lock in place when it reaches 90 degrees. Do not over-rotate
- Reposition the bracket if necessary by un-twisting, sliding, and re-twisting it
- When the bracket is locked in the correct place, you can pivot it to the desired angle by twisting it firmly. If the stainless steel head on you bracket is attached with a screw, there should be no need to adjust it unless it becomes loose after repeated installations
- Occasionally, due to tolerances in the handrail extrusion, over-rotation, or repeated installation, the pivoting stainless steel head may not lock securely in the handrail channel. To correct this, use a flat-blade screwdriver to bend the curved tongue on the stainless steel head outward, approximately 1/16″
- When you have determined the correct bracket location, drill pilot holes in the wooden stud for all three screws (see FAQs for attaching to other surfaces). Use a 5/32″ drill bit, or larger for hard wood, and angle the top two screws inward to prevent splitting of the stud. Pilot holes should be at least 2-1/2″ deep
- Use an electric screwdriver with a #3 (large) Phillips Head bit and a bit extension if necessary to avoid contact between the drill chuck and the bracket. Tighten the screws securely, but do not set the driver to maximum torque as this may damage the screws. If there is too much resistance, drill a larger pilot hole
Please consult the How-to videos or download the Promenaid instructions for more information.


